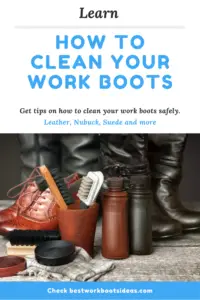
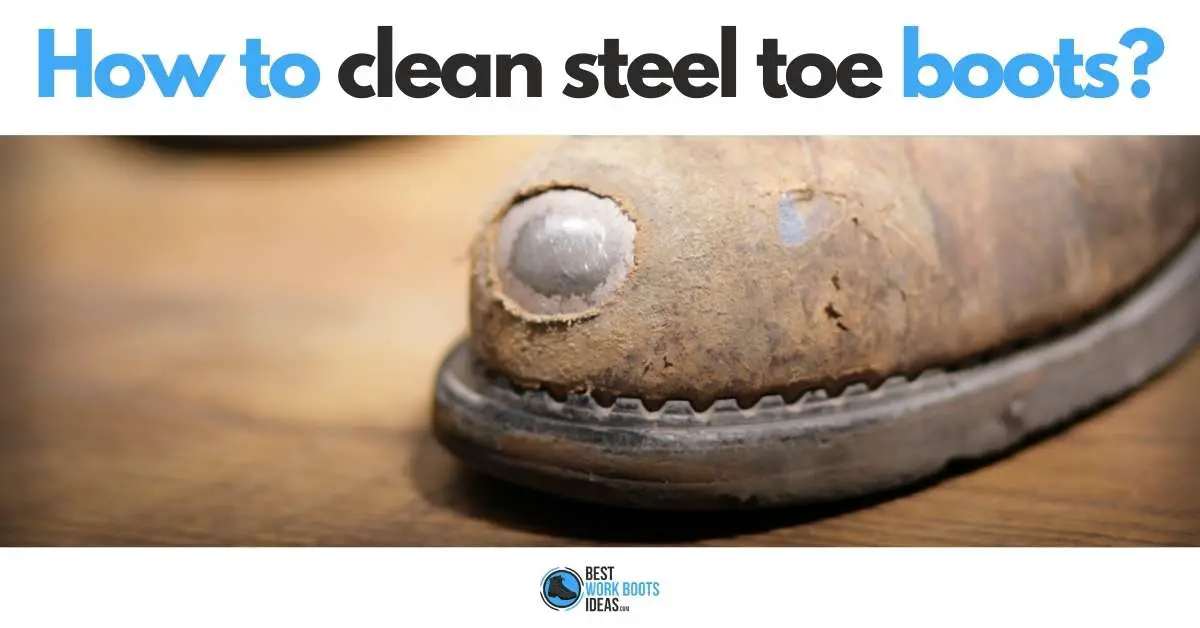
How to Clean Steel Toe Boots – 8 actionable tips for your safety footwear you can try NOW!
If you’re reading this, the chances are that you already have a pair of steel toe boots that were once quite handsome but have become a victim of time and service to you.
Don’t worry, keep reading and I’ll detail all the steps of how to clean steel toe boots so they’ll make you as proud as the day you brought them home.
What You Need to Clean Your Steel Toe Boots
You’ll definitely need:
- Cotton Rags (dry cloth)
- Dry Brush (preferably shoe brush)
- Paper Towels
- Leather Conditioner
Depending on what you’re trying to clean, you might need:
- Toothbrush & Baking Soda (for grease stains)
- Acetone or Rubbing Alcohol & Cotton Balls (for ink stains)
Contents
Break the Boots Down
Laces
Before getting into cleaning the boots themselves, take the laces out.
You can throw super dirty laces in the wash.
For laces that still look pretty decent, just throw them in a bowl of warm soapy water.
By the time you’re done with the boots you can rinse and hang the laces to dry and they’ll be as good as new
Footbeds (Insole)
I also suggest you remove the footbeds (insoles) of your steel toe boots.
Maybe you’re a magnificent specimen and your feet don’t smell after days and weeks of work, but I’m definitely not that guy.
I need to remove my foot beds regularly.
Ideally, this is something that I do at the end of each day, although I get lazy at times and fail to do this.
Removing your foot beds is one of the simplest things you can do to preserve the lifespan of your steel toe boots.
You might need to air them out, or it might be time to soak them in soapy water and let them hang dry.
You’ll have to make a judgment call on that one.
This isn’t a necessity, but if you’re already going through the effort of cleaning them, why not do this for your boots, for your feet, and for the people you share a home with.
My wife is ALWAYS telling me to go get new foot beds.
If I would just remove them and air them out regularly, I’d have to wash them and/or replace them less often; they wouldn’t draw her attention.
Maybe your luck has it that your feet don’t sweat like mine.
If that’s the case, I’m truly happy for you, but I’ll still recommend you air out the footbeds at the very least.
I have been caught by surprise when I’ve smelled nothing, but closer observation reveals I’ve had a new case of athlete’s foot.
Additionally, if you take the foot beds out your actual boots will have a greater opportunity to breathe.
Wash Your Boots
Start by getting the excess of dirt off your boots.
Not everyone will need to do this step, particularly those who work in very dry conditions.
If you are among those who have to work in the muck, there’s a way to save yourself time while cleaning.
Instead of beginning with the wiping process, smack your boot outsole-first on a hard surface so the dried dirt and grime will fall off.
Doing this will prevent you from working dust into mud while wiping the boots off.
There might still be a lot of remaining dirt on your boots after smacking them.
If this is the case, get a hose or sprayer and an area you don’t mind getting dirty (a sink, shower, or outside).
Turn the boots upside down so when you spray them off, the water falls down and away from the inners.
Odor on the Inside
You might notice that the insides of your boots smell something awful.
A paper published in the International Journal of Industrial Ergonomics found that metal toe caps create higher temperatures and humidity than composite toe caps.
The difference was approximately 4C.
Anyhow.
If this is the case, take a fresh rag, soak it in some warm water or soapy water and thoroughly wipe the insides of the boot.
I advise against filling the boot with warm water, as the drying will take longer, and despite what others might suggest I don’t think it’s good for the leather to completely saturate it from both sides.
You might also want to learn more about how to keep your feet from sweating.
Air Them Out
Let your boots sit for 12-48 hours.
Drying boots requires little from you besides time and patience.
To make sure you’re not panicking about getting your boots ready for work on Sunday evening, I suggest you begin this process on a Friday after work so by Sunday they’ll be perfectly dry.
You can speed the process up by stuffing paper towels inside your boots.
They’ll help absorb moisture. You can remove and replace the paper towels after 12 hours to ensure they absorb as much moisture as possible
You can also put a fan on the boots, so long as it’s only blowing room temperature air.
One way you cannot speed up the process is by using artificial heat.
Leave your boots out of direct sunlight, do not use the fireplace or hair dryer to accelerate their drying time.
Doing so puts damaging strain on the natural leather fibers and will ruin your boots over the long term.
Patience isn’t always a virtue to those that own steel toe boots, and I am definitely amongst that group.
Keep in mind that the only thing you have to do to properly dry your boots is nothing. It’s the rare occasion where doing nothing at all is the right move, so take advantage of the opportunity.
Wipe Them Down
No matter how well you wash your boots, you’ll still need to wipe them down.
Maybe the prior steps weren’t necessary for you and this is step one.
Either way, you’ll do the same thing.
Grab a cotton rag, soak it in some warm water, and wring it out.
Some suggest that you should use dish soap or white vinegar with the warm water, but I prefer to avoid any substance that’s purpose is to break something else down.
I think warm water and elbow grease is plenty for the exteriors.
Start from the top and work your way down, not the opposite way.
If your rag is holding on to the dirt from your boot, rinse and repeat.
If the rag still looks dirty, grab a fresh one.
There’s no point rubbing old dirt into your fresh boots.
Make sure to include any zippers on your boots in the wiping process.
Don’t let any debris from the world make a home in them and destroy their use.
Conditioner for the Toughest Conditions
Use leather conditioner to help your boots maintain their soft, pliable, and durable characteristics.
While letting your boots dry naturally, get your hands on a leather conditioner so you’re ready for the next step.
Once dry, use a cotton rag to work the conditioner into the leather exteriors in a deliberate circular pattern, starting from the bottom and ending at the top.
When the entirety of the boot’s leather exterior has the conditioner applied to it, just relax and wait 15 minutes.
The conditioner will dry and leave a white film behind, this is your indication that it’s okay to get back to work on it.
You should use a dry brush to polish the white residue away, this will reveal the leather’s natural color and you’ll notice a shine.
Buff and Shine
Polishing your steel toe boots will make them look as close to new as possible.
Polish is an optional step, but you’ve gone this far so why not go a little further?
Following the same process you did for conditioning, grab a fresh rag, apply the polish to your boots, and work it into the leather in a circular pattern from the base to the top.
If you have boots made of nubuck, suede, and distressed leather: it’s important that you avoid using polish on these materials.
They cannot be polished.
If you try to do so, there’s a very high chance that you’ll permanently alter the appearance of your boots.
For those with regular, full-grain leather boots, wait a couple minutes and then you can finish the polishing process with a soft brush (less, just like shoe shines in every movie that shows a shoe shine at work).
Special Circumstances
Grease
If you’ve got grease on your work boots, it’s common and it’s a solvable problem.
Put a little baking soda onto the stain, add a drop or two of water, and work it in with a toothbrush.
Once the powder has become a paste, let it rest overnight and wipe it off in the morning.
Ink
Removing ink requires rubbing alcohol (or acetone), cotton balls, and a soft touch.
The thing you don’t want to do is move the ink around the surface of your boot, spreading the stain to a larger area than it initially covered.
Take the cotton ball, soak it in the alcohol, and blot the stain.
Replace the cotton ball with a fresh one if it’s covered in ink.
Once the stain is removed simply wipe it with a damp towel.
Enjoy Your Fresh Feet!
Come Monday morning your feet will feel as fresh as the day your new boots.
Once you’re familiar with the process of cleaning your work boots it will be a much smaller chore than it is the first time.
Cleaning your safety boots every month or so will extend their lifespan and make them a more comfortable wear for you.
As you can see, there’s not really much difference when cleaning any type of leather based safety boot.
Regardless of the toe type or style.
The only thing you need to pay attention to is the material.
If your work boots are made of suede, nubuck or distressed leather then they need to be cleaned in a different way.
For example, a suede brush.
Hopefully now you understand how to clean your steel toe safety shoes!You might also want to read more about how to clean your work boots in this article.